How to Clean Your Car Interior at Home

Cleaning a car interior at home is easier when the work follows a clear order. If you wipe the dashboard before removing trash, or clean glass before dusting vents, you may end up repeating the same tasks.
A practical routine moves from dry mess to damp cleaning, then finishes with glass and odor checks. That order protects surfaces and keeps loose dirt from spreading through the cabin. If you are cleaning more than the seats and dashboard, a broader car cleaning checklist can keep the full reset in a sensible order.
Remove trash and personal items first
Start by taking out cups, wrappers, receipts, bags, toys, jackets, and anything that does not belong in the car. Cleaning around clutter wastes time and hides the areas that actually need attention.
Check door pockets, under seats, the trunk, cup holders, and the gap between the seat and console. Small items often fall into those spaces and create smells or rattles later.
| Choice | Beginner check | Why it matters |
|---|---|---|
| Trash removal | Look under seats and in pockets | Clears the cabin for real cleaning |
| Vacuuming | Work from top areas toward floors | Removes crumbs before damp wiping |
| Glass cleaning | Save for the end | Prevents dust from resettling |
Vacuum before adding cleaner
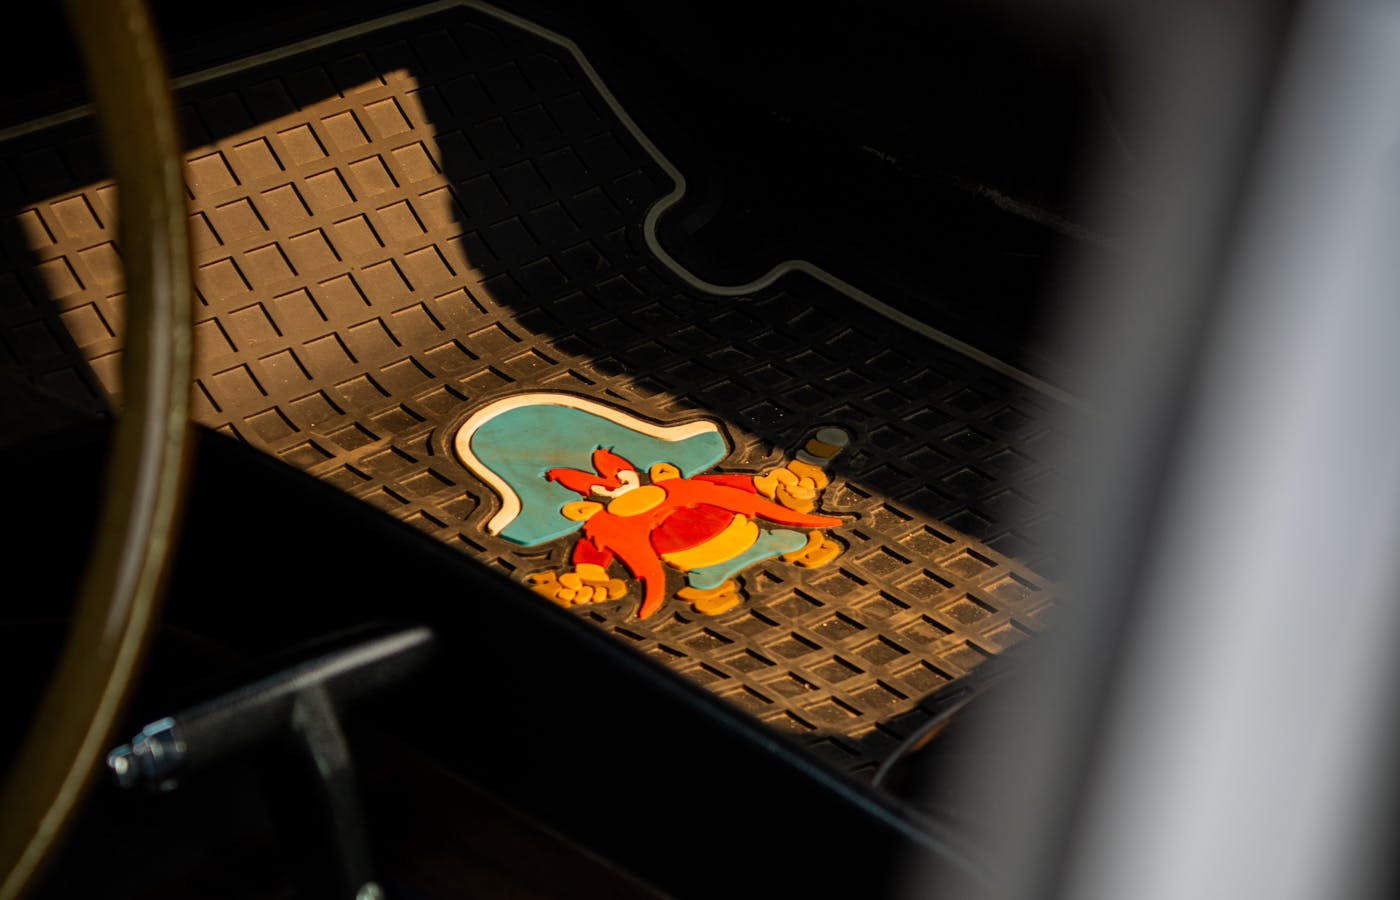
Dry debris should come out before any spray touches the interior. Vacuum seats, seams, floor mats, carpet, and the area around pedals. Use a crevice tool if you have one because crumbs collect in narrow gaps.
Work from higher surfaces toward lower ones. Brush crumbs from seams and console edges before vacuuming the floor, because gravity will move the mess downward. Remove floor mats and vacuum them outside the car if possible. If a mat is damp, let it dry fully before putting it back so the cabin does not hold a musty smell.
Dust dashboards and vents gently
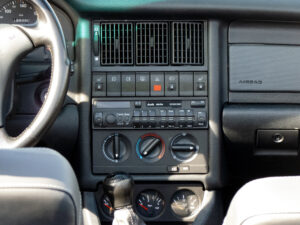
Dashboards, screens, vents, and controls need gentle tools. Use a microfiber cloth and light pressure. Avoid soaking buttons, screens, or seams with cleaner because moisture can settle where it does not belong.
For vents, use a soft brush or cloth edge. Work slowly so dust lifts instead of moving from one surface to another. Glossy trim may scratch, so test pressure before rubbing a visible area.
- Use microfiber on screens and trim.
- Spray cleaner onto the cloth, not into controls.
- Brush vents before wiping nearby surfaces.
- Keep strong household cleaners away from delicate materials.
Clean seats according to material
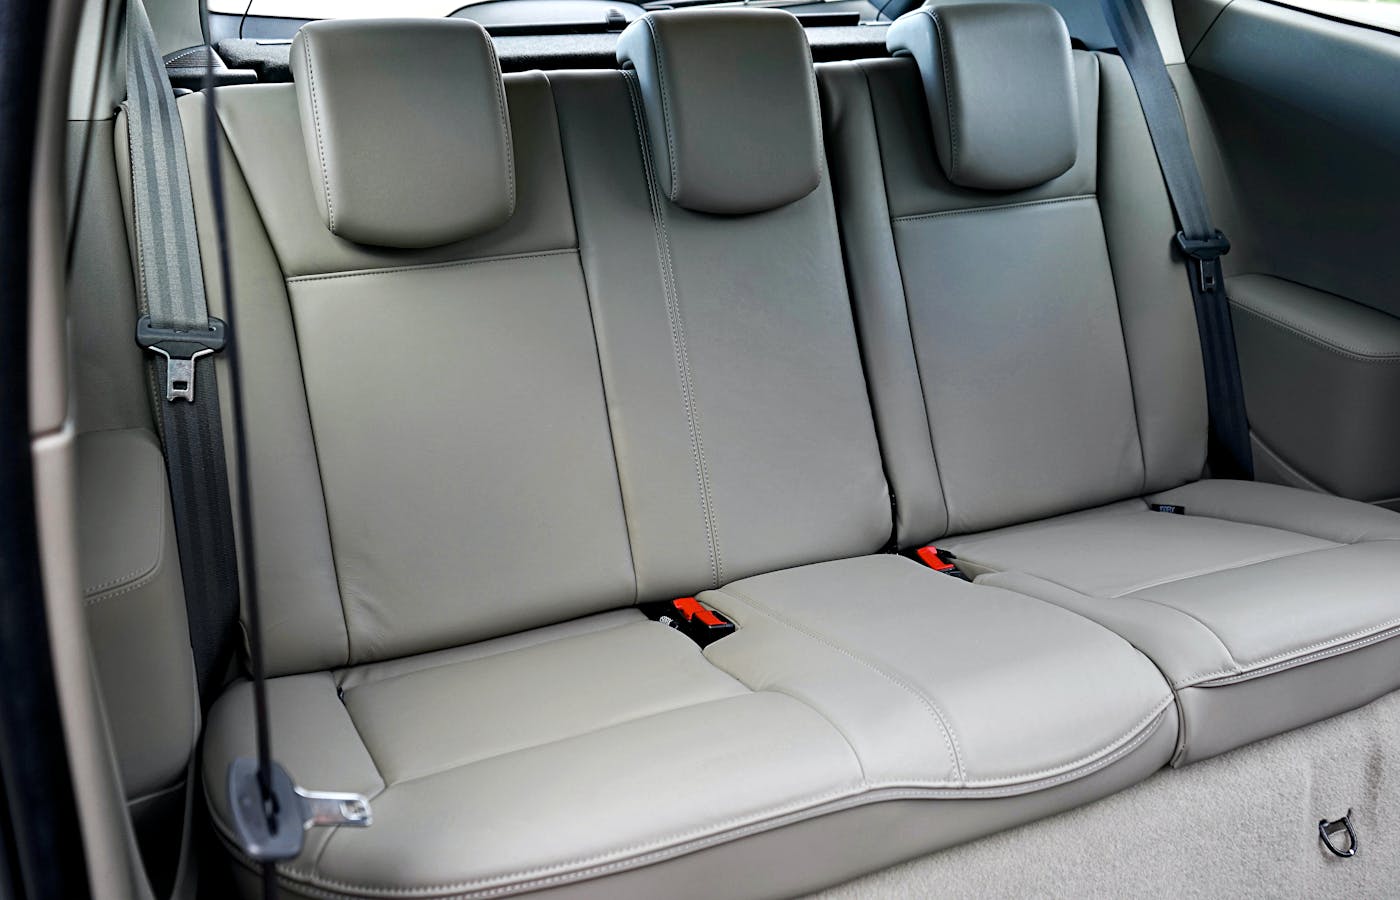
Cloth, leather, and vinyl seats need different care. Cloth usually needs vacuuming, light fabric cleaner, blotting, and drying. Leather needs gentle cleaner, soft cloths, and very little liquid.
Do not soak seats at home. Too much moisture can create odors, water rings, or slow drying. Work in small areas and dry with airflow before anyone sits down again.
Always match the cleaner to the material and test a hidden spot first. A product that works on hard plastic may be too harsh for leather, and a fabric cleaner may leave residue if it is sprayed heavily. If the seat has stitching, perforation, or an older worn surface, use less liquid and more patience. The goal is to lift grime, not push cleaner deep into the cushion.
Clean cup holders and touch points
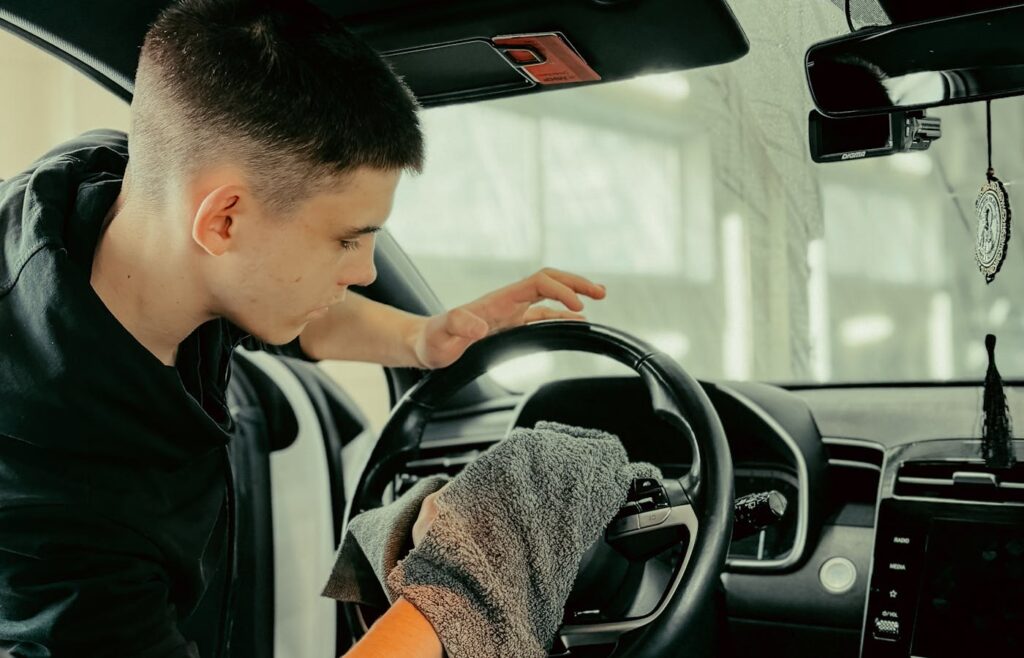
Cup holders, steering wheels, gear selectors, door handles, and armrests collect sticky residue quickly. These areas are touched often, so they deserve attention even when the rest of the car looks acceptable.
Use a damp cloth or appropriate interior cleaner, then dry the surface. For cup holders, remove liners if possible. A soft brush can loosen crumbs around edges before wiping.
These high-touch areas are also where a rushed cleaning job can leave the car feeling sticky instead of fresh. Fold the cloth often so you are not moving the same grime from the steering wheel to the console. If a cup holder has dried coffee or soda at the bottom, soften it with a damp cloth first rather than scraping hard plastic with a sharp object.
- Clear loose items from the cabin.
- Vacuum seats, floors, and mats.
- Dust vents and dashboard surfaces.
- Clean seats by material type.
- Finish glass and odor checks.
Save interior glass for last
Interior glass shows streaks when dust and product residue settle on it. Clean windows and mirrors after the dashboard, seats, and mats are finished. Use a clean cloth reserved for glass.
Handle odors by finding the source
Air fresheners cannot fix a hidden spill, damp mat, old food wrapper, or dirty seat fabric. If the car smells, look under seats, in mats, in the trunk, and around child seats or pet areas. For family driving, NHTSA child-seat guidance is a better reference than guessing about seat position or fit.
Build a quick maintenance habit
After vacuuming, clean from the least dirty surfaces toward the dirtiest ones. Dashboard dust, console crumbs, door pockets, cup holders, pedals, and floor edges all collect different kinds of mess. Working in that order keeps greasy or gritty areas from spreading back onto surfaces you already wiped.
A weekly reset does not need to be a full detail. Remove trash, shake mats, wipe the steering wheel and main touch points, and check whether any spill needs attention before it dries into the fabric. That small habit keeps the car from reaching the point where every surface needs deep cleaning at once.
Finish with glass, air, and a final check
Interior glass deserves a separate cloth because upholstery cleaner, protectant, and dust can smear quickly on windows. If streaks keep returning, treat the glass like a visibility item instead of a cosmetic detail. That same visibility mindset also matters when cleaning car windows without streaks.
Before closing the doors, look for damp fabric, cleaner residue, loose items under pedals, and anything left on the dashboard that could slide while driving. A clean interior should feel calmer, but it should also be safe to use immediately.
A clean interior comes from order, not force. Remove clutter, vacuum dry mess, wipe gently, clean seats by material, and finish with glass and odor checks.